How to Clean Your Hiking Boots and Get them Sparkling Again in No Time
Learn the best methods for cleaning and maintaining your hiking boots to keep them in top condition for your next outdoor adventure. From removing dirt and debris to preventing odors, this comprehensive guide has everything you need to know.

Cleaning hiking boots are an important part of maintaining them, as it helps to extend their lifespan and keep them in good condition. Hiking boots take a beating out on the trails, and it's important to clean them regularly to remove dirt, sweat, and other debris that can cause them to wear out faster.
In this article, we'll go over everything you need to know about how to clean hiking boots, including what materials you'll need, how to do it step by step, and some tips for getting the best results.
What You'll Need
Before you get started, there are a few materials that you'll need to have on hand to clean your hiking boots:
- A soft brush or toothbrush: This will be used to scrub away dirt and debris from the surface of the boots.
- Mild soap: Any type of mild soap, such as dish soap or laundry detergent, will work for cleaning your hiking boots. Avoid using harsh chemicals, as they can damage the materials of your boots.
- A bucket or sink: You'll need a place to soak your boots and rinse them off.
- A towel: You'll need a towel to dry your boots off after they've been cleaned.
- Water: You'll need water to rinse your boots and mix it with soap to create a cleaning solution.
The Cleaning Steps
Now that you have all the materials you'll need, it's time to get started on the cleaning process.
Step 1: Remove the Laces
The first step in cleaning your hiking boots is to remove the laces. This will make it easier to clean the rest of the boots and will allow you to clean the laces separately if needed. Simply untie the laces and set them aside.
Step 2: Brush Away Dirt and Debris
Once the laces are removed, take a soft brush or toothbrush and use it to scrub away any dirt or debris from the surface of the boots. Pay extra attention to areas that tend to accumulate more dirt, such as the toe and heel. If your boots are particularly dirty, you may need to repeat this step a few times to get them fully clean.
Step 3: Soak the Boots
Next, fill a bucket or sink with lukewarm water and add a small amount of mild soap. Mix the water and soap together to create a cleaning solution. Place your boots in the solution and let them soak for about 15-20 minutes. This will help to loosen any dirt or stains that are stuck to the boots.
Step 4: Scrub the Boots
After the boots have soaked for a bit, take a soft brush or toothbrush and use it to scrub the boots all over, paying special attention to areas that are particularly dirty or stained. If you have any stubborn stains, you can try using a little bit of extra soap to help lift them.
Step 5: Rinse the Boots
Once you've finished scrubbing the boots, rinse them off thoroughly with water. Make sure to remove all of the soap and dirt from the boots, as any leftover soap can cause them to feel sticky.
Step 6: Dry the Boots
After rinsing the boots, use a towel to pat them dry. Be sure to dry the inside of the boots as well as the outside. If you have access to a hose, you can also use it to blast the boots with water to help remove any remaining dirt or soap.
Step 7: Condition the Boots
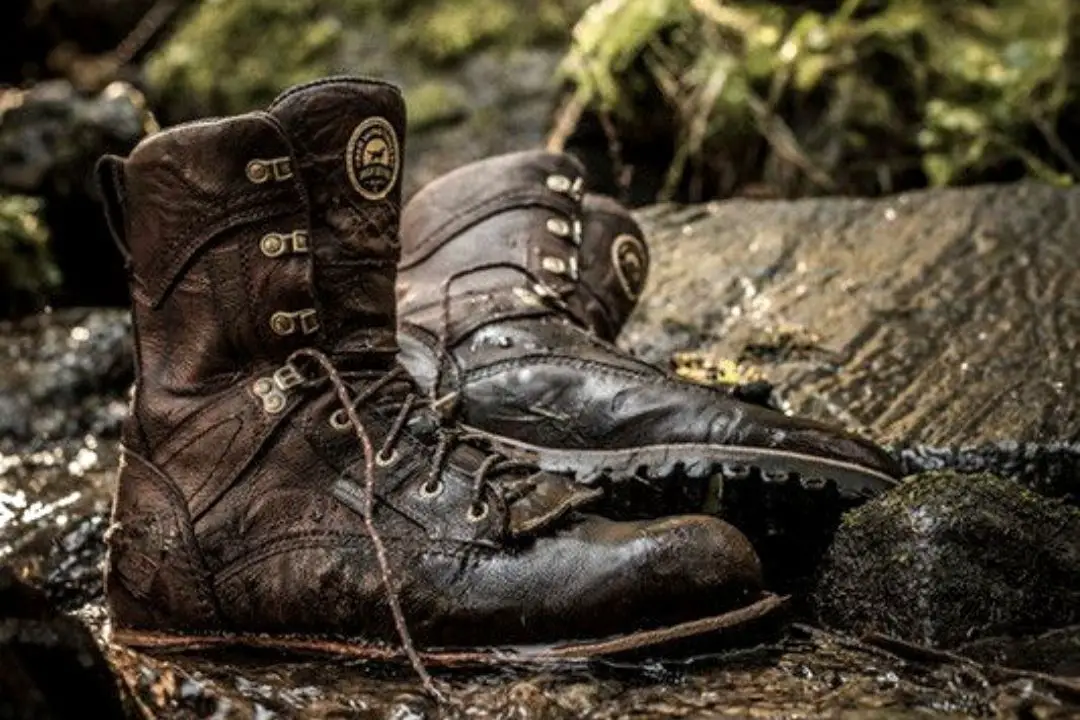
If your hiking boots are made of leather, it's a good idea to condition them after cleaning to help keep them soft and supple. You can use a leather conditioner or oil to do this. Simply apply a small amount of the conditioner to a clean cloth and rub it into the leather.
DIY boot-cleaning solutions
Keeping your hiking boots in tip-top shape is crucial for both the appearance and longevity of your footwear. One way to do this is by regularly cleaning them, and a great way to save some money is by using DIY boot cleaning solutions.
These solutions can often be made using household items you already have on hand. For example, a mixture of water and white vinegar can be used to clean and deodorize your boots, while a solution of baking soda and water can be used to scrub away tough stains.
Another popular method is using a combination of saddle soap and mink oil to clean and condition leather boots. Not only are these DIY solutions budget-friendly, but they're also environmentally friendly alternatives to commercial cleaning products. Additionally, these solutions are flexible and can be used for all types of boots including hiking boots, rain boots, and even winter boots.
Another great tip is to stuff your boots with newspaper after cleaning, it will help your boots to dry faster and keep their shape. Remember to always test any cleaning solution on a small, inconspicuous area of the boot first to ensure it won't cause any damage. With a little elbow grease and the right cleaning solutions, you can have your boots looking and smelling like new in no time!
Final Words
Cleaning your hiking boots is an important part of maintaining them and keeping them in good condition. By following the steps outlined in this article, you can easily clean your hiking boots and extend their lifespan.
And if you have flat feet and are in need of a new pair of hiking shoes, be sure to check out our article on the best hiking shoes for flat feet. Just tap the button below and pick one of our top picks. With the right pair of shoes, you'll be able to hit the trails with confidence and comfort.

Some other articles related to shoes and boots that you might like: