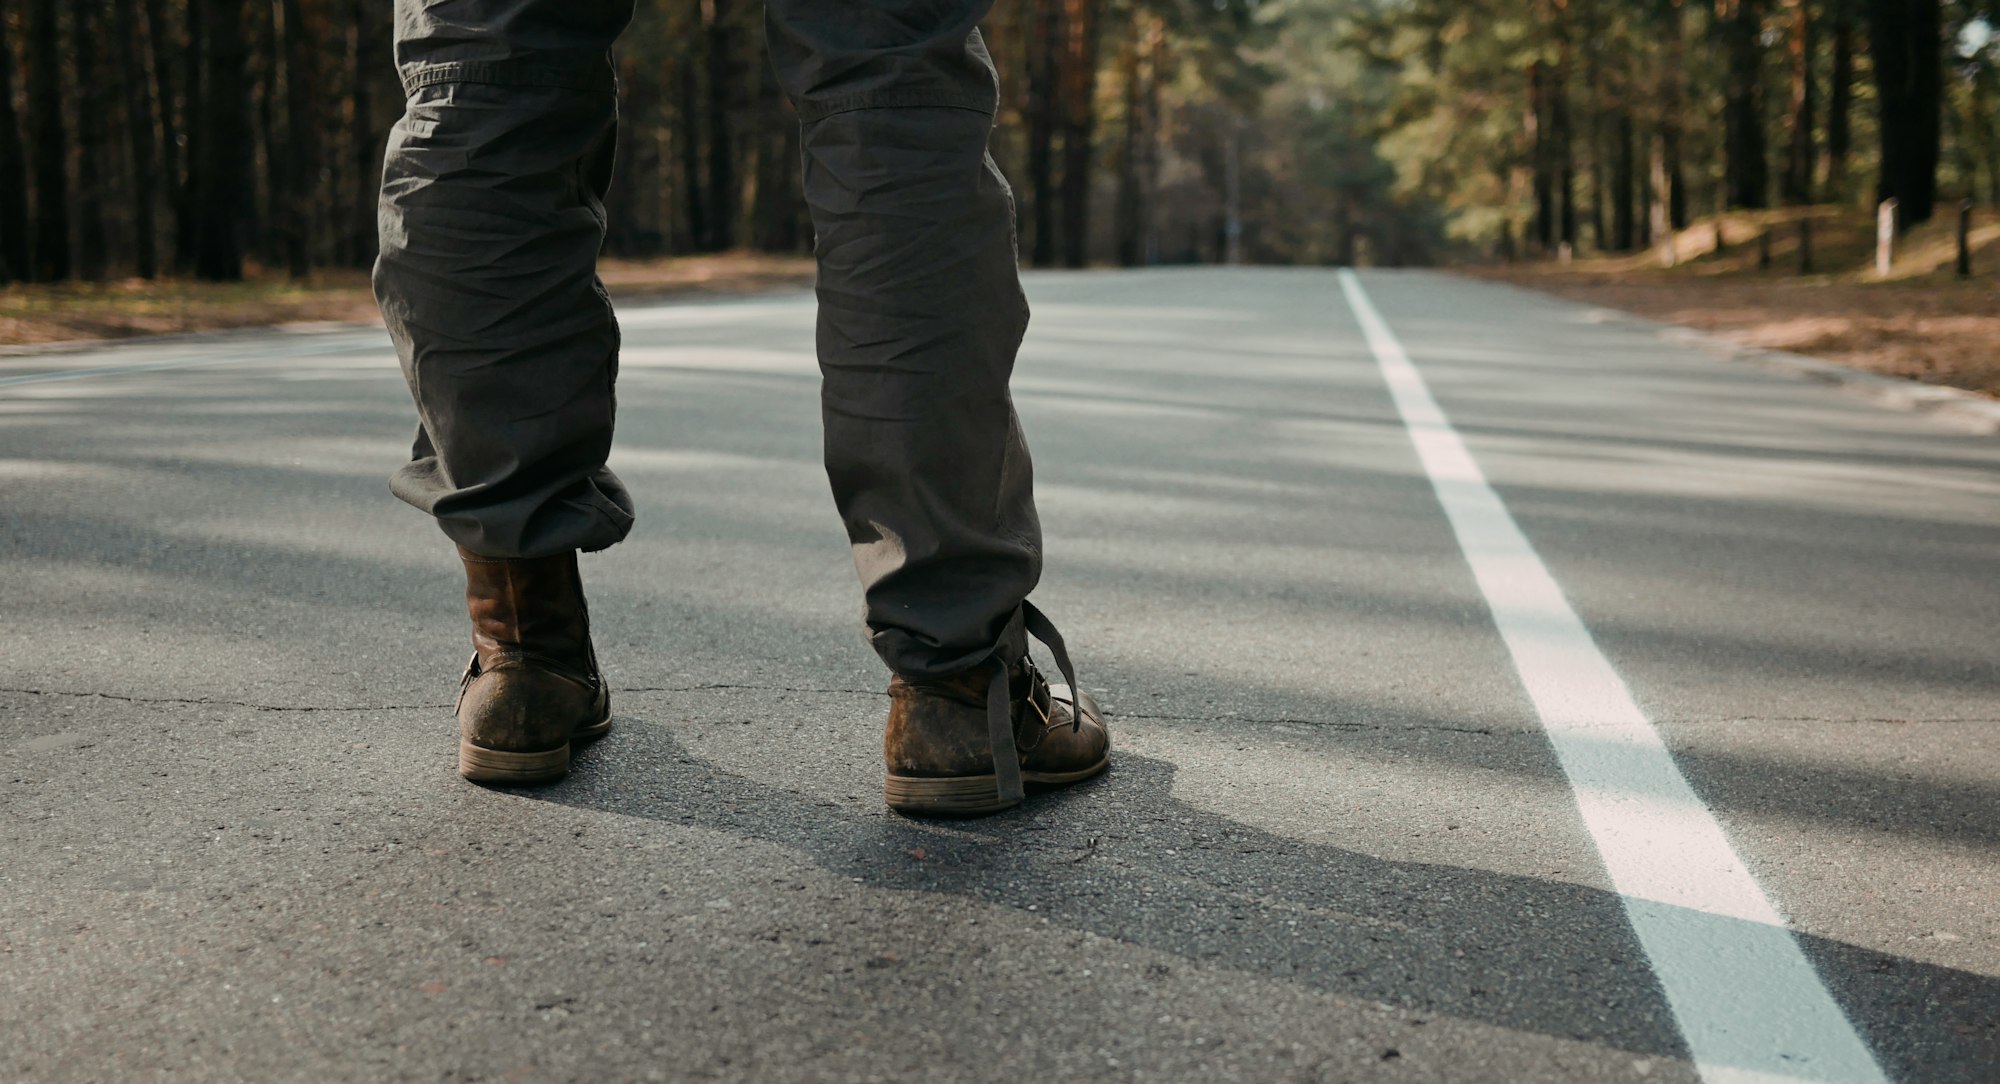
Finally! A Guide to Breaking in Those Stubborn Hiking Boots Without Breaking Your Feet
Discover the simple and effective ways to break in your hiking boots and enjoy comfortable and stress-free hikes. Learn the tips and tricks for a seamless breaking-in process now!

Are you tired of hiking in boots that feel like torture devices? Do your deal with blisters and sore feet on every trail?
If so, you're not alone. Picking the right boots that offer both comfort and support is just half the battle - it's equally essential to break them in properly.
In this blog post, we'll guide you on how to break in hiking boots, giving you tips and techniques to help you make the transition from uncomfortable to ready for action.
By the end of this article, you'll be ready to hit the trails with confidence, knowing that your boots will keep you comfortable and pain-free. So, let's get started!
Why Breaking In Hiking Boots is Important

Hiking boots are an essential piece of equipment for any hiker, as they provide both support and comfort for your feet and ankles during your hike. Properly breaking in your new hiking boots helps to mold them to the shape of your feet, reducing the risk of blisters, pain, and other discomforts.
Furthermore, not breaking in your hiking boots can lead to a reduction in performance, which can be especially dangerous in challenging terrain. By taking the time to break in your hiking boots properly, you can ensure that they will provide the support and comfort you need for a successful hike.
Whether you're planning a day hike or an extended backpacking trip, investing the time to break in your hiking boots is a crucial step in ensuring a comfortable and safe outdoor experience.
Choose the right time to break in your hiking boots
This depends on a few factors, including the terrain you’ll be traversing, the type of boots you’ve purchased, and how much time you have before your planned hike.
Generally speaking, most experts agree that breaking in your hiking boots should start about 4 to 6 weeks prior to embarking on an adventure. This allows enough time for the shoes to become comfortable without risking any blisters or other discomfort during your actual outing.
Remember that different types of boots require various amounts of break-in time; full-grain leather boots may need more than synthetic boots.
How to Break In Hiking Boots
In spite of the technological advancements in modern boots that make them much easier to break in, you should still dedicate a few moments to wearing them around before going on your next journey! Check out the simple steps for a smooth break-in process:
Before You Start
· Choosing the Right Hiking Boots: When searching for the perfect hiking boots, ensure that they fit snugly and provide adequate support while giving you the desired comfort.
Also, remember to factor in any socks you may be wearing with those shoes - so make sure to try them on together! That way, you'll guarantee yourself an enjoyable hike regardless of where your journey takes you.
· Wearing the Right Socks: No hike should begin without the proper socks. Ample cushioning, moisture-wicking fabric, and breathable materials are key for avoiding blisters or any other foot injuries during your trekking adventure. Invest in a pair of quality socks to make sure you're properly prepared!
And if you are planning a winter hike or going on treacherous terrains, get thicker socks. You can also try thick socks for better protection against shoe bites and blister formations.
Short Distances
· Start by wearing them around the house: Start wearing your new pair of hiking boots around the house to ensure they are gradually molded and broken in. This will give you a chance to adjust them with comfort, as well as make sure that your feet are prepared for long hikes!
· Go for Short Walks: Once you feel comfortable wearing them around the house, start going for short walks for about half an hour at a time. This will allow you to become accustomed to how the boots feel on different surfaces.
· Regularly Check for Hot spots: During your walks, check for any areas that are causing discomfort, such as hot spots. These are areas on your feet that are rubbing against the inside of the new boots, causing friction and potential injury.
Gradually Increase Distance
· Increase the Distance of Your Walks Gradually: As your feet adjust to your brand new pair of hiking boots, gradually increase the distance of your walks. This will help prevent blisters and other foot injuries from developing during the actual hike.
· Tips for Reducing Discomfort During Longer Walks: During longer walks, taking breaks and adjusting your laces can help reduce discomfort and prevent blisters and other foot injuries. Make sure to loosen your laces periodically to allow for proper circulation and avoid any tight spots that may cause friction.
Other Techniques
If you're still feeling discomfort after multiple walks, breaking in your boots using heat can be an effective way to reduce any tight spots. Applying a hairdryer or a hot wet towel to specific areas of the boot can help stretch them out and make them more comfortable.
While these methods may provide some relief, they may also have potential drawbacks. For example, using a hairdryer can cause the leather to become too brittle, and if you walk with wet boots, it will not be a pleasant experience for you.
Remember that breaking in takes time, and there's no quick fix that can be done just before you hit the trail. But if you are still unable to break in consult the manufacturer’s guidelines for how to break them in. This will ensure that you are following the optimal method and reducing any chances of discomfort during your hike.
Common Mistakes to Avoid

Although it's not difficult to break into your brand new hiking boots, there are some crucial things you should be mindful of:
· Breaking in Too Quickly: Breaking in your boots too quickly can cause your feet to become overwhelmed and fatigued, leading to blisters and other foot injuries. This can make your hike uncomfortable and even dangerous. Don't rush the process of breaking in your new footwear when planning for a hike. Allow yourself plenty of time to properly break them in, by purchasing them at least a few weeks before.
· Ignoring Proper Fit: Improper fit can cause your feet to shift around inside the boots. This is not just bad for your feet but also reduces the support and stability you need for hiking, making your hike more difficult and dangerous. Make sure to choose boots that fit well and provide the support and comfort you need for your specific type of hiking.
· Not considering the trail conditions: If you're planning on tackling a more challenging terrain, the process of breaking in your new boots may take longer, so buy your boots accordingly. If you have heavy-duty mountaineering boots to break in, it will not take the same time as some lightweight synthetic boots.
· Not Wearing the Right Socks: Wearing the wrong type of socks can cause undue friction and contribute to blisters and other foot injuries. Make sure to wear socks that are comfortable, cushioning, and made of breathable materials. If possible wear the same socks during the break-in process as you will when hiking on the trail.
· Not choosing the lacing system properly: Improper lacing can cause your feet to move too much inside the boots, which may result in blisters and other injuries. Make sure to choose a lacing system that is easy to adjust and provides enough support for your feet.
How Long It Should Take to Break in Hiking Boots
How long it might take to break in a pair of hiking boots depends on the type and style, as well as your personal feet shape. Generally speaking, you should allow for several days up to a few weeks before feeling truly comfortable with your new shoes.
Gradually wearing them over time is key - this allows for proper adaptation to each foot's unique arch and contours while also increasing their stability during outdoor activities. Once broken in properly, your hiking boots will provide maximum comfort and support throughout all hikes!
How Many Miles it Takes to Break in Your Boots
Rather than fixating on how many miles you should break in your hiking boots, it's best to gradually increase the length and difficulty of hikes over a span of days or weeks. This is contingent upon which type of hiking boots are chosen, along with each individual's feet size and anticipated outdoor conditions during any given trek.
You should also be mindful of any discomfort or pain you experience during the breaking-in period and adjust your hiking schedule accordingly. The goal is to avoid causing any blisters or other sore feet, so it's best to listen to your body and adjust your hiking schedule as needed.
Also, check out our article on Best Turkey Hunting Boots
Tips for Caring for Your Hiking Boots

Proper Storage
· Avoid Direct Sunlight: Avoid exposing your hiking boots to direct sunlight, as this can cause the leather to dry out and become brittle. Instead, store your boots in a cool, dry place away from direct sunlight, but be careful to avoid any moist places.
· Allow Them to Air Out: After each use, make sure to allow your hiking boots to air out by removing the insoles and laces and allowing them to dry completely. This will help prevent mold and mildew from developing, which can cause unpleasant odors and potential damage to the boots.
Cleaning Your Boots
· Regular Cleaning: Regular cleaning can help extend the life of your hiking boots and keep them looking their best. Use a soft brush or cloth to remove any dirt or debris from the surface of the boots and avoid using water, as this can cause the leather to dry out and become brittle.
· Conditioning the Leather: Applying a leather conditioner and boot oil to your hiking boots can help keep the leather soft and supple. Make sure to use a conditioner that is specifically designed for leather and avoid using too much, as this can make the boots too soft and reduce their support.
Repairs and Maintenance
· Regular Inspection: Regularly check your hiking boots for any signs of wear and tear, such as frayed laces or worn soles. Address any issues promptly to prevent further damage.
· Professional Repairs: If your hiking boots need repairs that you're unable to perform yourself, consider taking them to a professional shoe repair shop. This will ensure that your hiking shoes are repaired properly and to the highest standards.
Final Thoughts
Remember, you need to take the time to break in your hiking boots before hitting the trail. Start with short walks and gradually increase the distance and difficulty of your hikes. Make sure you choose a boot that fits well and invest in good socks. With these tips in mind, you'll be ready to make the most of your next hike.
So what are you waiting for? Tap the button below and check out our article on the best hiking shoes. Happy trails!