Dehydrating Food for Backpacking and Hiking
If you're a hiker or backpacker, you know that food can be one of the heaviest things you have to carry. But what if there was a way to reduce the weight of your food without sacrificing taste or nutrition? Here's how...
If you're a hiker or backpacker, you know that food can be one of the heaviest things you have to carry. But what if there was a way to reduce the weight of your food without sacrificing taste or nutrition?
That's where dehydrating food comes in! By removing the water content from fruits, vegetables, and meats, you can create lightweight, easy-to-carry meals that will last for months.
In this blog post, we'll explore the world of dehydrated foods and give you some tips on how to create your own dehydrated backpacking meals.
The History of Dehydrating Foods
Though food dehydrators are quite a recent innovation, air drying or solar drying of food to preserve them has been in practice since ancient civilizations. According to the National Center of Home Food Preservation, research studies found that the Middle East and Oriental Cultures used different methods of drying foods to preserve them as early as 12000 BC!
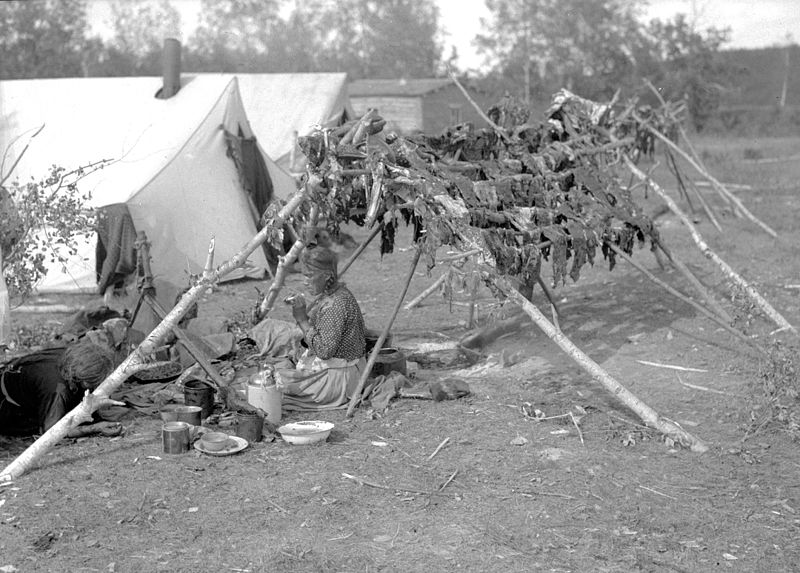
Dehydrating foods is not a new concept in the western world too; in fact, it's been around for centuries! Native Americans were some of the first people to dehydrate food as a way to preserve them for long journeys.
Again during World War II, the U.S. military relied on dehydrated foods as a way to provide nutritious meals for soldiers overseas. These days, dehydrated foods are becoming increasingly popular with backpackers and hikers as a way to lighten their load.
How Does Dehydration Work?
Dehydration works by removing water from food, which can be done either through air-drying or using a dehydrator. Air-drying is the more traditional method and involves hanging food in a warm, dry place until the water has evaporated. This process can take several days or even weeks, so it's not ideal if you're looking for an immediate meal solution.
A dehydrator uses heat and circulation to remove water from food more quickly; most dehydrators can remove water content in as little as four hours. Dehydrating foods at home is fairly simple and only requires a dehydrator and some patience! fruits and vegetables tend to work best for dehydration because they have a high water content; meats can also be dried but require special preparation (more on that later).
Once fruits or vegetables are dried, they can be stored in an airtight container and kept at room temperature for up to six months. Meats can last even longer—up to a year—when properly packaged and stored in the freezer.
The Dos and Don’ts of Dehydrating Food for Backpacking
Dehydrated food is a backpacker’s best friend. Lightweight, nutritious, and easy to prepare, dehydrated meals are ideal for long hikes and overnight trips. But if you’ve never dehydrated your food before, the process can seem a bit daunting. Here are a few tips to help you get started.
1. Do: Choose the right foods. Dehydration works best with foods that are high in water content, such as fruits, vegetables, and cooked meats. Avoid fatty foods, like bacon or sausage, as they don’t dehydrate well and can go rancid quickly. Spices, herbs, and salt can also be added to your dehydrated meals to enhance flavor.
2. Don’t: skimp on the preparation. Thoroughly wash and slice your fruits and vegetables before dehydrating them. Meats should be cooked until they reach an internal temperature of at least 160 degrees Fahrenheit to ensure that any bacteria have been killed.
3. Do: Use a food dehydrator. A food dehydrator will help you achieve the best results by evenly removing moisture from your food. Dehydrators come in a variety of sizes, so choose one that will fit your needs. Smaller units are more portable but have limited capacity, while larger units can dehydrate large quantities of food at once but are less portable. Regardless of the size, all dehydration units require electricity to operate, so keep that in mind when choosing a unit for backpacking trips.
4. Don’t: over-dehydrate your foods. Remove foods from the dehydrator when they are slightly pliable but still dry to the touch; If they're too dry, they'll be difficult to rehydrate and may not taste as good. And speaking of rehydration...
5. Do: rehydrate properly. To rehydrate your food, simply add water (filtered if possible) until the desired consistency is achieved and allow it to sit for 5-10 minutes before eating. Food that has been too dry may not fully rehydrate or may become mushy if over-soaked; start with less water than you think you need and add more as needed.
6. Don’t: forget to pack your dehydrated snacks! No matter how well you plan, there will always be times when you get hungry between meals. Be sure to pack some dehydrated snacks, like fruit leather or jerky, to tide you over until your next meal.
The Benefits of Dehydrating Food for Backpacking
When you are backpacking, carrying a stove is not the right option. That means you won't be able to cook your food. This makes packing some dehydrated backpacking food the next best solution.
In addition to being lightweight, nutritious, and easy to prepare, dehydrated food has a few other benefits that make it the perfect choice for backpackers.
First, dehydrated food is compact and takes up very little space in your backpack. This is especially important when packing for a long trip, as every ounce counts.
Second, it doesn’t require any refrigeration, so you can easily store it in your pack without worrying about it melting or going bad.
Third, dehydrated food is relatively inexpensive, making it a cost-effective option for long trips.
Finally, it has a long shelf life, so you can easily make meals in advance and have them ready to go whenever you need them.
So next time you head out on a backpacking trip, be sure to pack some dehydrated food! It’s the perfect way to fuel your adventure.
How to Dehydrate Your Own Food At Home
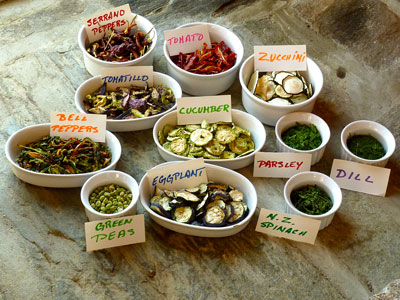
There are a few different ways you can easily dehydrate food at your home. The most common methods are using an oven, a dehydrator, or the sun.
If you're doing it naturally using the sun, place the food in direct sunlight and rotate it every few hours. This process can take anywhere from a few hours to a few days, depending on the weather and the type of food you're dehydrating.
Dehydrating in an oven is similar to dehydrating in the sun, except it's done indoors. Place the food on a wire rack and set your oven to its lowest setting (usually between 200-250 degrees Fahrenheit). dehydrate for 3-8 hours, or until the food is dry.
The easiest and best method is using a dehydrator. This is the most foolproof way to dehydrate your food. Simply place the food on the dehydrator racks and set the temperature according to the manufacturer's instructions. Dehydrate for 3-8 hours, or until the food is dry.
Dehydrators come in a variety of sizes and price ranges, so choose one that fits your needs. Some of our top choices are:
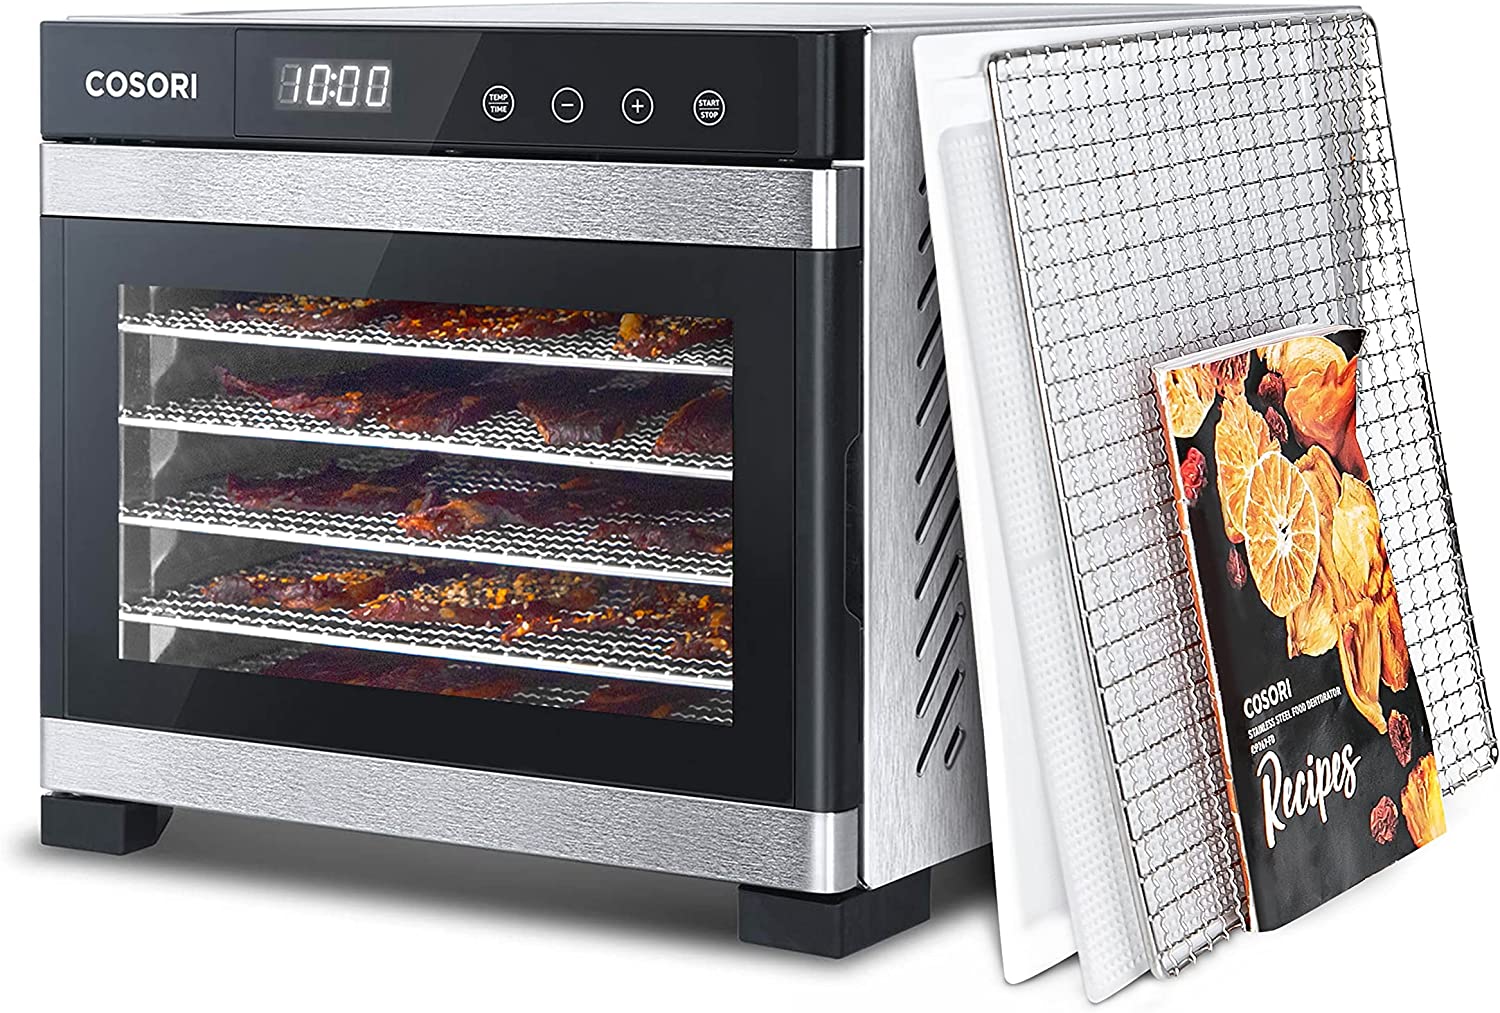
If you are looking for a dehydrator that is both simple and efficient, then look no further than the COSORI Food Dehydrator! This made-in-USA dehydrator is perfect for anyone who wants to enjoy delicious, healthy snacks without all the hassle.
With its easy-to-use design and even drying technology, you'll be able to dehydrate your favorite foods with ease. With a variety of safety features and a cookbook with 50 recipe ideas, you can surely trust this product for packing your perfect backpacking snacks.
So why wait? Order your COSORI Food Dehydrator today!
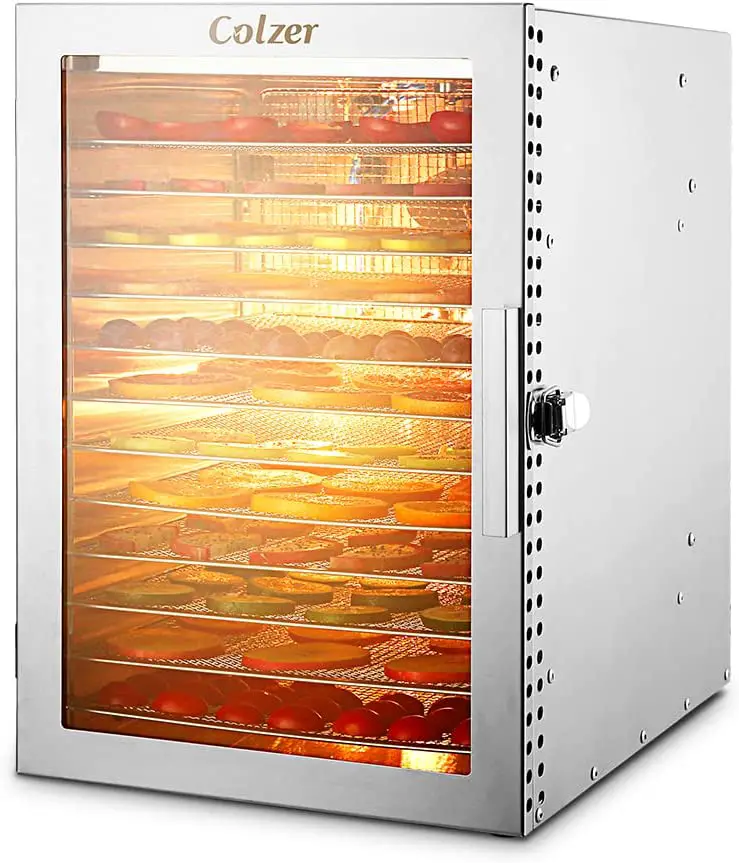
Looking for a dehydrator that can handle large quantities of food? Look no further than the Colzer Food Dehydrator. This dehydrator has plenty of space to accommodate all your favorite foods, making it perfect for frequent travelers.
With its ability to evenly heat all the dehydrator trays with hot air convection and a host of safety features, you will be getting a high-quality dehydrator. This dehydrator is durable and you can be sure that it is built to last. Because of the value it provides, it is well worth the not-so-cheap price tag!
So whether you're looking to dehydrate a lot of food at once or simply want a reliable dehydrator that will stand the test of time, the Colzer Food Dehydrator is the perfect choice for you.
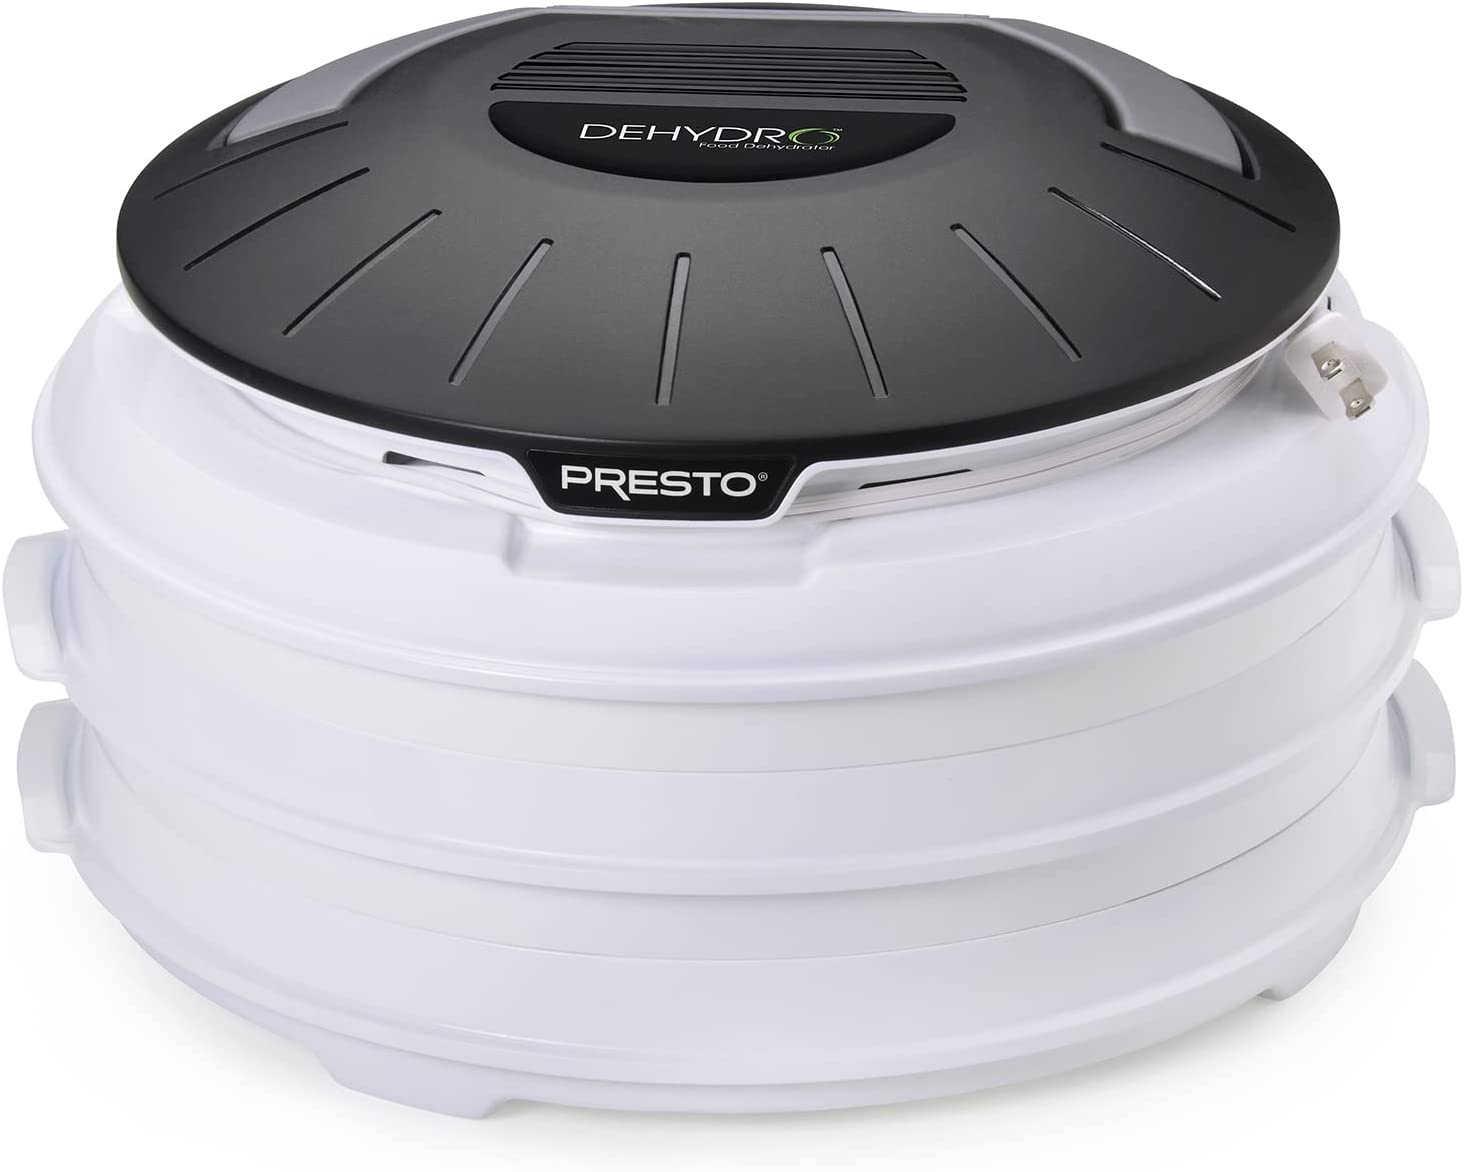
Looking for an easy and effective way to dehydrate your food without breaking the bank? Look no further than the Presto Dehydro Electric Food Dehydrator!
This dehydrator with its fan and heating element on the top of the unit provides consistent airflow. You will never have to worry about tray rotation or mixed flavors with this dehydrator - it does all the work smoothly and efficiently for you!
Plus, its sleek and compact design is sure to complement any kitchen and makes it even easier to store. Don't miss out on this must-have appliance - order your Presto Dehydro Electric Food Dehydrator today!
Some of the Easiest Dehydrated Food Perfect for Backpacking
Dehydrated foods are a great option for backpacking, as they are lightweight and easy to store. Plus, they can be rehydrated with just a little water, making them perfect for when you're on the go. There are tons of recipes out there for dehydrated foods, but here are a few of our favorites:
Dehydrated apple chips:
simply slice apples thinly and lay them out on dehydrator trays. Dehydrate at a low temperature until crisp.
Dehydrated sweet potato chips:
slice sweet potatoes thinly and coat them with olive oil or coconut oil. Sprinkle with salt, pepper, and any other seasonings you like. Dehydrate at a low temperature until crisp.
Dehydrated bananas:
peel and slice bananas thinly. Toss with lemon juice to prevent browning. Dehydrate at a low temperature until leathery.

Fruit leather:
This is a great way to get your daily dose of fruit while on the trail. Simply puree some fresh fruit, spread it onto a dehydrator tray, and let it dry for several hours. For better results, or if the fruit is very ripe you can use parchment paper. Once dried, you can roll it up and store it in a plastic bag.
Vegetable soup:
This hearty soup is packed with nutrients and can be made ahead of time and then dehydrated. Simply cook up your favorite vegetables (potatoes, carrots, celery, etc.), then puree them and add some seasonings. Dehydrate for several hours or overnight, then rehydrate with water when you're ready to eat.
Pasta with Marinara Sauce:
This dish is lightweight, filling, and easy to make. Simply rehydrate some pasta in boiling water and then mix it with your favorite marinara sauce. You can add some freeze-dried vegetables or meat to the mix if you like.

Beef jerky:
This classic trail food is not only delicious, but it is also high in protein and low in fat. Simply marinate beef strips in your favorite sauce or rub them, then dehydrate them for several hours.
Hamburger Rocks
If you are carrying a small hiking stove or aiming to cook some light food or your campfire, you can carry hamburger rocks made from ground beef, venison, or turkey. Simply form patties out of the ground meat, and then dehydrate them for several hours. Once dehydrated, they will resemble rocks and can be stored in a bag or container until you are ready to cook them.
Couscous with Vegetables.
Start by rehydrating ¾ cup of couscous in ¾ cup of boiling water. Add ½ cup of mixed vegetables and let sit for 5 minutes. Once the couscous has absorbed the water, fluff with a fork and add 1 tablespoon of olive oil and ¼ teaspoon of salt. This dish can be served hot or cold, making it a great option for a trailside lunch or an easy dinner at camp.
These are just a few ideas to get you started – there are endless possibilities when it comes to dehydrating foods! So get creative and experiment to find your perfect backpacking meal.
Storing and Rehydrating Your Dehydrated Food on the Trail
Dehydrating your own food is a great way to save weight and space on the trail, but it's important to know how to properly store and rehydrate your food to avoid spoiling or making yourself sick.
Dehydrated backpacking food should be stored in a cool, dry place in an airtight container. Vacuum sealing your food using a vacuum sealer is a safer way of storing your food, especially if you are preparing them in large batches and not planning to use them recently. Check out some of our best picks for vacuum sealers here.
When you're ready to eat, simply add water and let the food soak for a few minutes to rehydrate. Be sure to use clean water from a reliable source, and make sure all of the food is fully submerged so that it can rehydrate evenly. As a rule of thumb, add twice as much water as you have food.
If you're dehydrating your own fruits, vegetables, or meats, it's important to sterilize the food before dehydration to avoid bacteria growth. You can do this by blanching the food in boiling water for a few minutes. Once dehydrated, the food will keep for several months.
However, if you notice any signs of spoilage, such as mold or discoloration, it's best to discard the food to avoid sickness. With proper storage and care, dehydrated foods can provide nutritious meals on the trail without adding unnecessary weight to your pack.
Also, check out our article on the Best Turkey Calls
Final Words
Dehydrating foods may take some time to get used to. However, once you see how much it reduces your backpack weight and increases the efficiency of your meals, you'll be convinced that dehydrated foods are a necessity for backpacking trips.
These simple backpacking food ideas can help you get started on your next hike with delicious and lightweight meals. And with the best food dehydrators available on the market now, there's no excuse not to give dehydration a try. For your reference, they are:
Best Overall - COSORI Food Dehydrator
Best Heavy-Duty Pick - Colzer Food Dehydrator
Best Budget Pick - Presto 06300 Dehydro Electric Food Dehydrator
So what are you waiting for? Click the check price on Amazon buttons and add them to your cart today!
Also, check out some of our other articles:


